

When compressing photos, it's important to understand the different types of compression available: lossless and lossy. Lossless compression preserves image quality, while lossy compression, as the name suggests, results in some loss of photo data.
Changing the file type can impact both image quality and compression. JPEGs, for example, are lossy and typically used for photos and realistic images, whereas PNGs are lossless and better suited for line art and images with minimal colours and text. Besides, different compression tools might give different results and quality levels, even with the same input image.
Here’s how you can compress an image on your Mac without quality loss.
How to Compress Images on Mac
Basically, there are two approaches.
By Changing Images’ Format
When capturing screenshots on Apple devices such as iPhone and Mac, they are typically saved in PNG format by default. For screenshots consisting mainly of text, like those from the iPhone Settings app, maintaining them in PNG format is often preferred.
However, it might be better to convert images containing graphics to JPG. JPG format provides nearly identical picture quality to PNG while significantly reducing file size. In some cases, this reduction can be as substantial as 98%.
By Resizing the Image
When dealing with large images, such as those with dimensions like 4,000px by 2,800px, the file size can often be several megabytes. To mitigate this, you just need to resize the image and reduce its dimensions. For instance, adjusting the dimensions to something like 2,000px by 1,400px can significantly decrease the file size.
To check the image dimensions, simply select the image and press Command + I or press Get Info after you select an image.
If you want to further reduce the file size, compress the resized image.
Use 4K Image Compressor
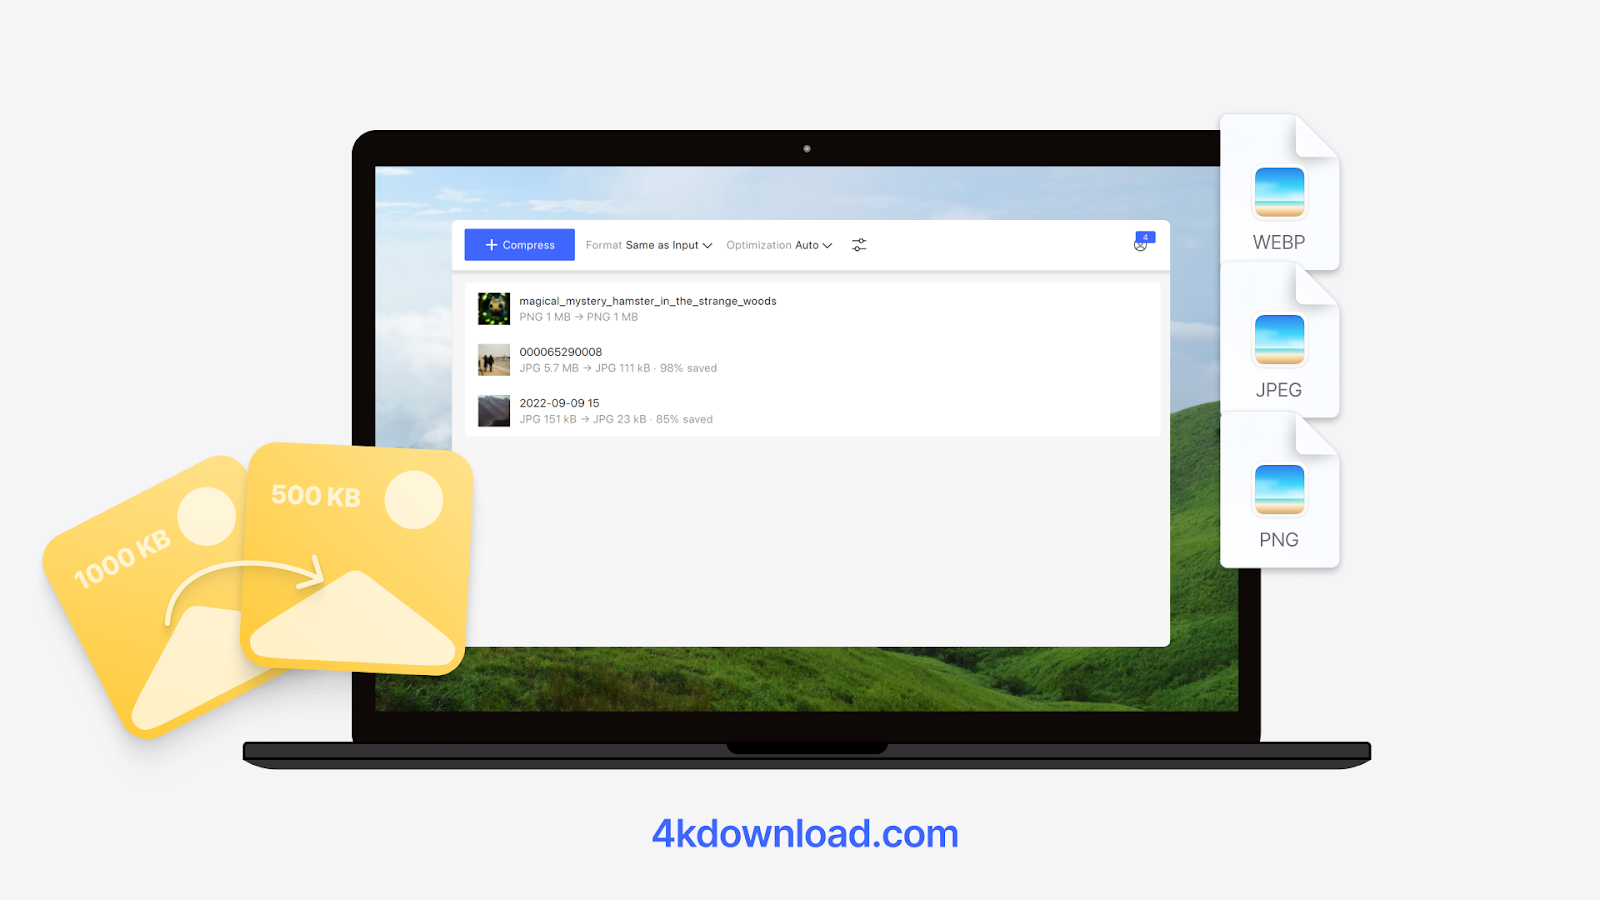
4K Image Compressor is a desktop application compatible with macOS, Windows, and Ubuntu. It can easily optimise JPEG, PNG, HEIC, and WEBP images as well as PDF files. Besides, all file formats (except PDF) can be converted to other formats, supported by the app. In addition to compressing single images one by one, the tool can also optimise files in bulk, saving both storage space and your time.
Here’s how to compress an image on your Mac with this application:
1. Launch 4K Image Compressor. It’s available for Windows, macOS, and Linux.
2. Select the output format and value in the settings bar.

3. If you selected the Percent value, enter the number of percents you want to compress the file by. If you selected the Size value, enter the number and unit (B, KB, MB).
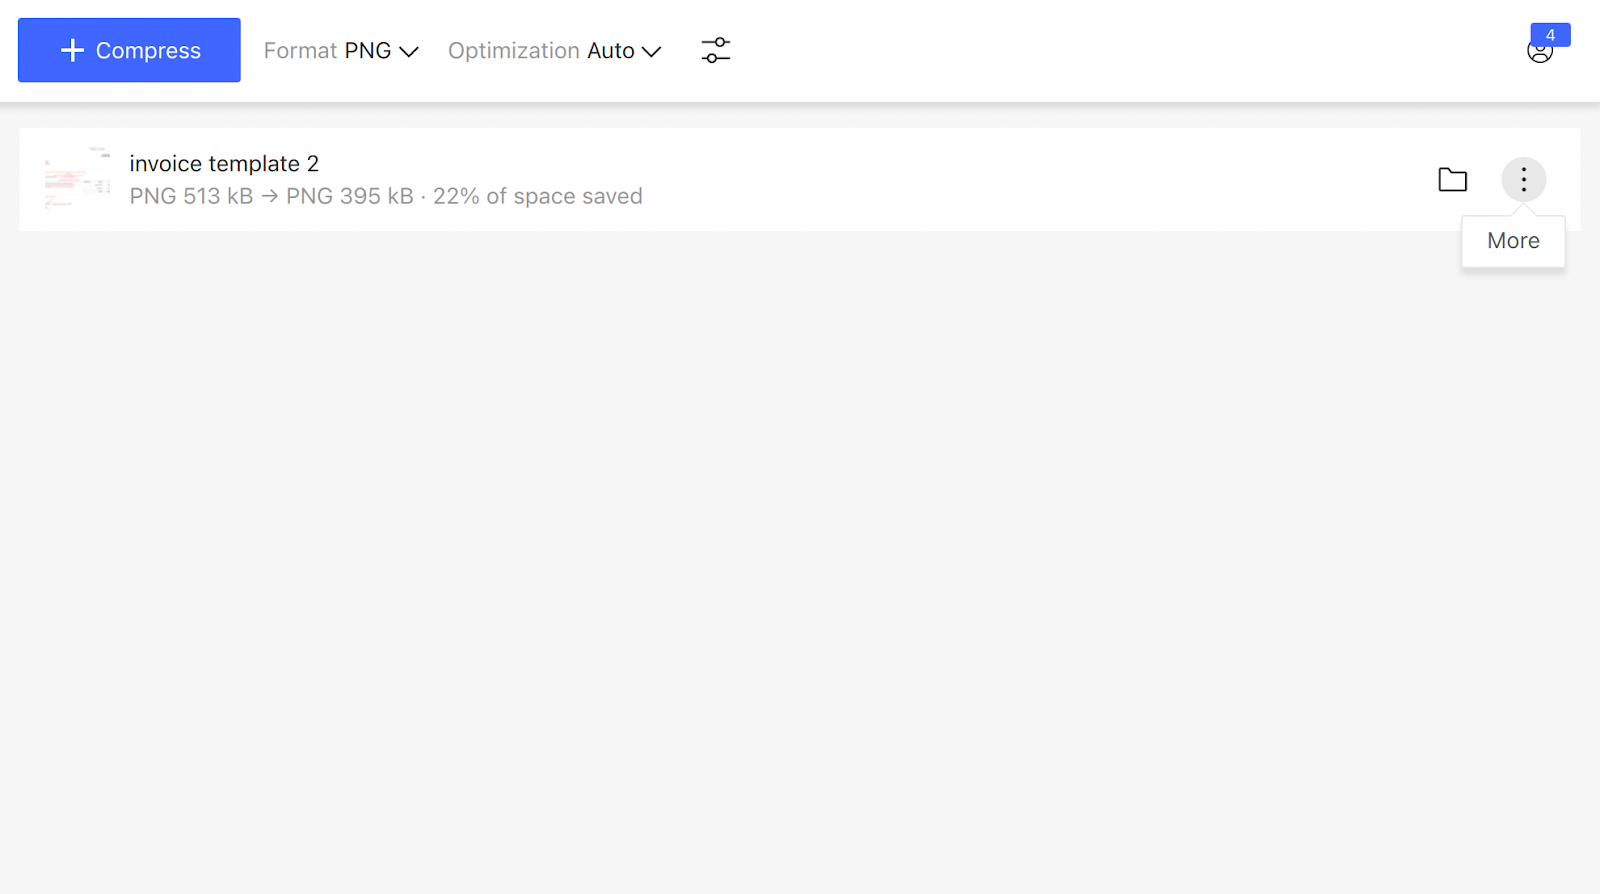
4. Click the Compress button located in the middle of the application window.
5. In the opened window, select the image for compression and click Open.
Your image will be immediately uploaded and compressed.
Hover the cursor over the compressed image preview and click the folder icon to find the file on your computer.
If you prefer native ways that your mac provides, here you go.
Compress Images with Quick Actions on Mac
To compress images on a Mac running macOS Monterey or later, you can utilise the convenient quick actions menu:
-
Select one or more images, then right-click.
-
Choose "Quick Actions" -> "Convert Image."

-
By default, the JPEG format is offered, unless you prefer to change it. If you want to retain photo details such as date, time, and location, ensure "Preserve metadata" is checked.
-
Click on the "Image Size" dropdown menu and select from options like Small, Medium, Large, or Actual Size.
Opting for Actual Size will result in significant savings only when changing the format, such as converting PNG to JPEG. If you stick with the same format, choosing Actual Size won't reduce the file size substantially.
-
Finally, click "Convert to [Format]" to compress the image file size and save it in the same location as the original files.
Compress Images Using Preview on Mac
Preview, the built-in image viewer and PDF viewer with basic editing provides tools to reduce the file size of images, allowing you to work with single or multiple images.
Compress a Single Image on Mac with Preview
To compress a single image using the Preview app on any macOS version, follow these steps:
-
Double-click the image to open it in the Preview app.
-
From the top menu bar, click on "File" -> "Export."
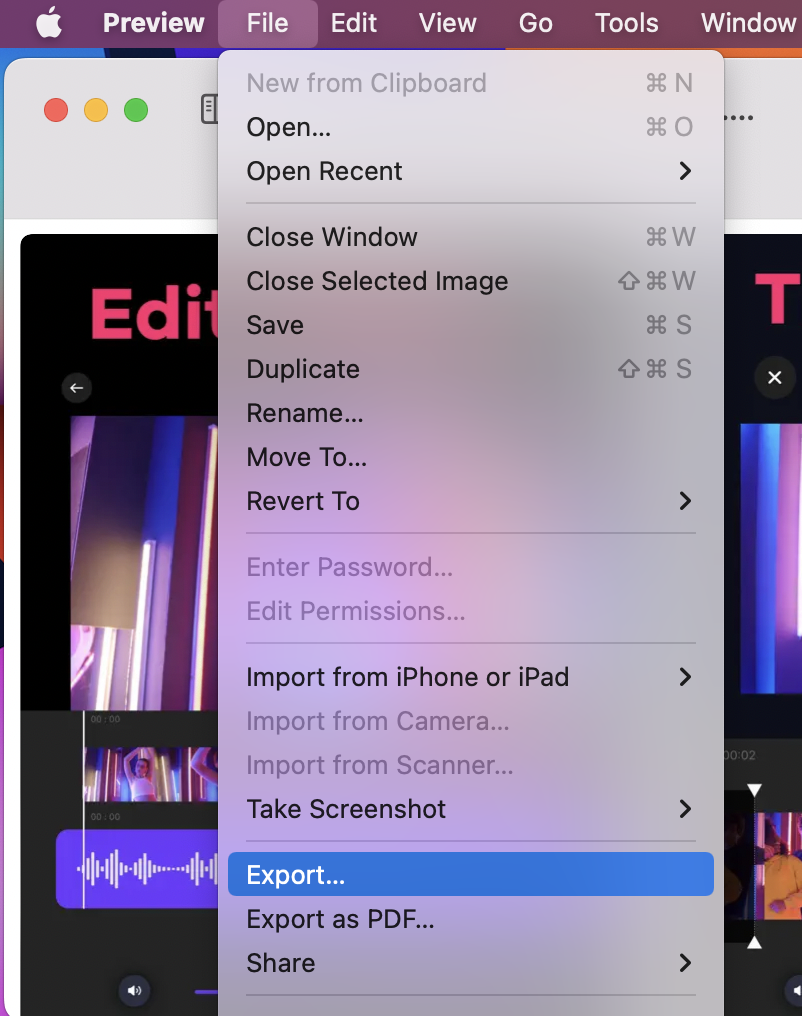
-
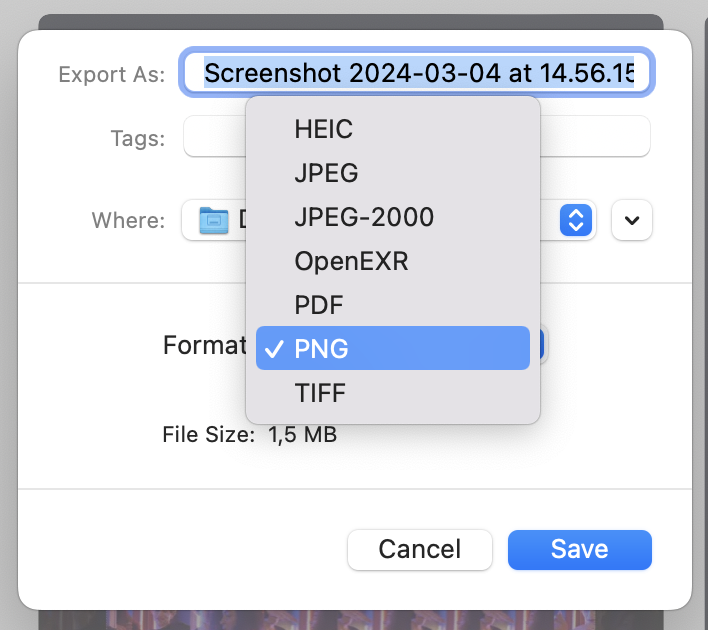
Choose the desired format. HEIC format offers a significantly smaller file size, although it may not be compatible with all platforms. Alternatively, you can select JPEG or other formats based on your needs.
-
Drag the quality slider to adjust the compression level.
-
Once you're satisfied with the file size and quality, click "Save."
Tip: If you don’t like the compressed image quality, you can repeat the process with the original image and adjust the quality slider more.
Compress Images in Bulk in Preview
To compress multiple images simultaneously using the Preview app on any macOS version, follow these steps:
-
In the Finder folder or on the desktop, select multiple images by holding the Command key or pressing Command + A to select all.
-
Right-click on the selected images and choose "Open With" -> "Preview."

-
Inside the Preview app, press Command + A to ensure all image thumbnails are selected in the left sidebar.
-
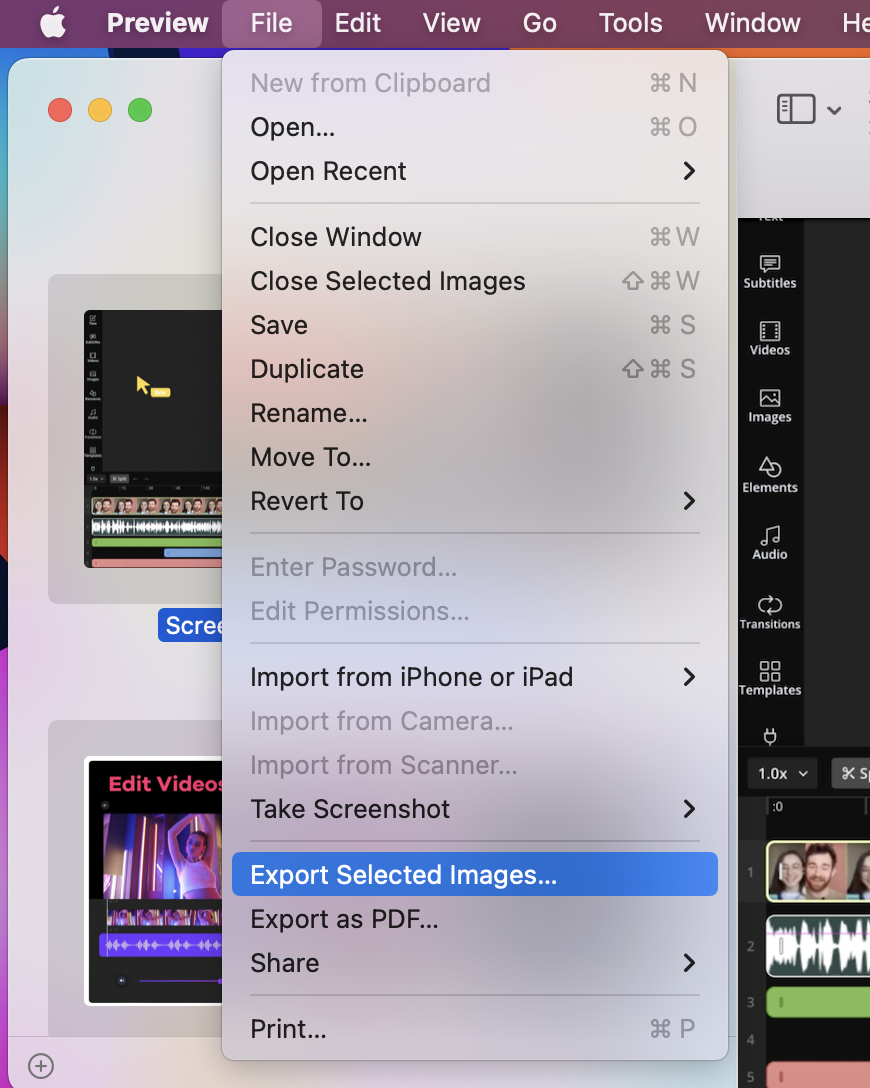
From the top menu bar, click on "File" -> "Export Selected Images."
-
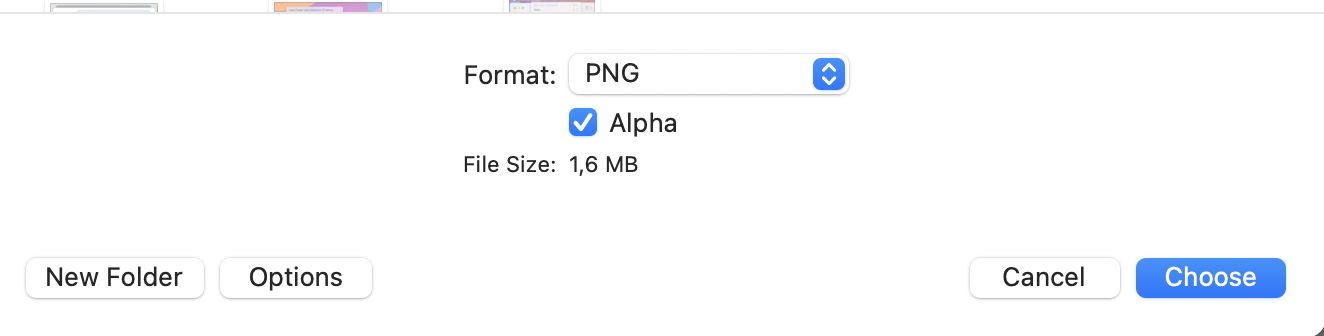
Click on "Options" located at the bottom.
-
Choose the desired format and adjust the quality slider according to your preference.
-
Finally, click "Choose" to initiate the compression process for all selected images and save them accordingly.
Compress Images Using Mac’s Photos App
Similar to the Preview app, you can also reduce the file size of images using the macOS Photos app. The process is simple:
-
Select one or more pictures within the Photos app.
-
Press Command + Shift + E, or navigate to the top menu bar and click on "File" > "Export" > "Export Photos."
-
Click on the small arrow next to "Photo Kind" to reveal additional options.
-
Adjust the settings for "Photo Kind," "Quality," and "Size" according to your preferences to compress the images effectively.
-
Click "Export," choose a destination folder, and then click "Export" again to finalize the process.
Use Online Sites to Compress Images
Another method frequently used to compress images is online services.
A simple web search for "compress images" yields numerous options, including ImageOptim or TinyPNG. We covered more of these in our article on the seven best ways to compress an image.
All of them work the same: You just need to upload the images to the servers of these sites when using them. However, we don’t recommend this method if you need to upload several images for compression in bulk and/or need to compress images containing sensitive or personal data. In the latter case, we suggest using native Mac ways or 4K Image Compressor.
 SHARE ON TWITTER


Thanks for feedback
Your comments will appear here shortly. Please spread the word about us in social networks.