There are several ways to extract frames from a YouTube video, but the one with an easy process and guaranteed high-quality result is using 4K Video Downloader Plus and VLC Media Player.
Download the Video to Your Computer
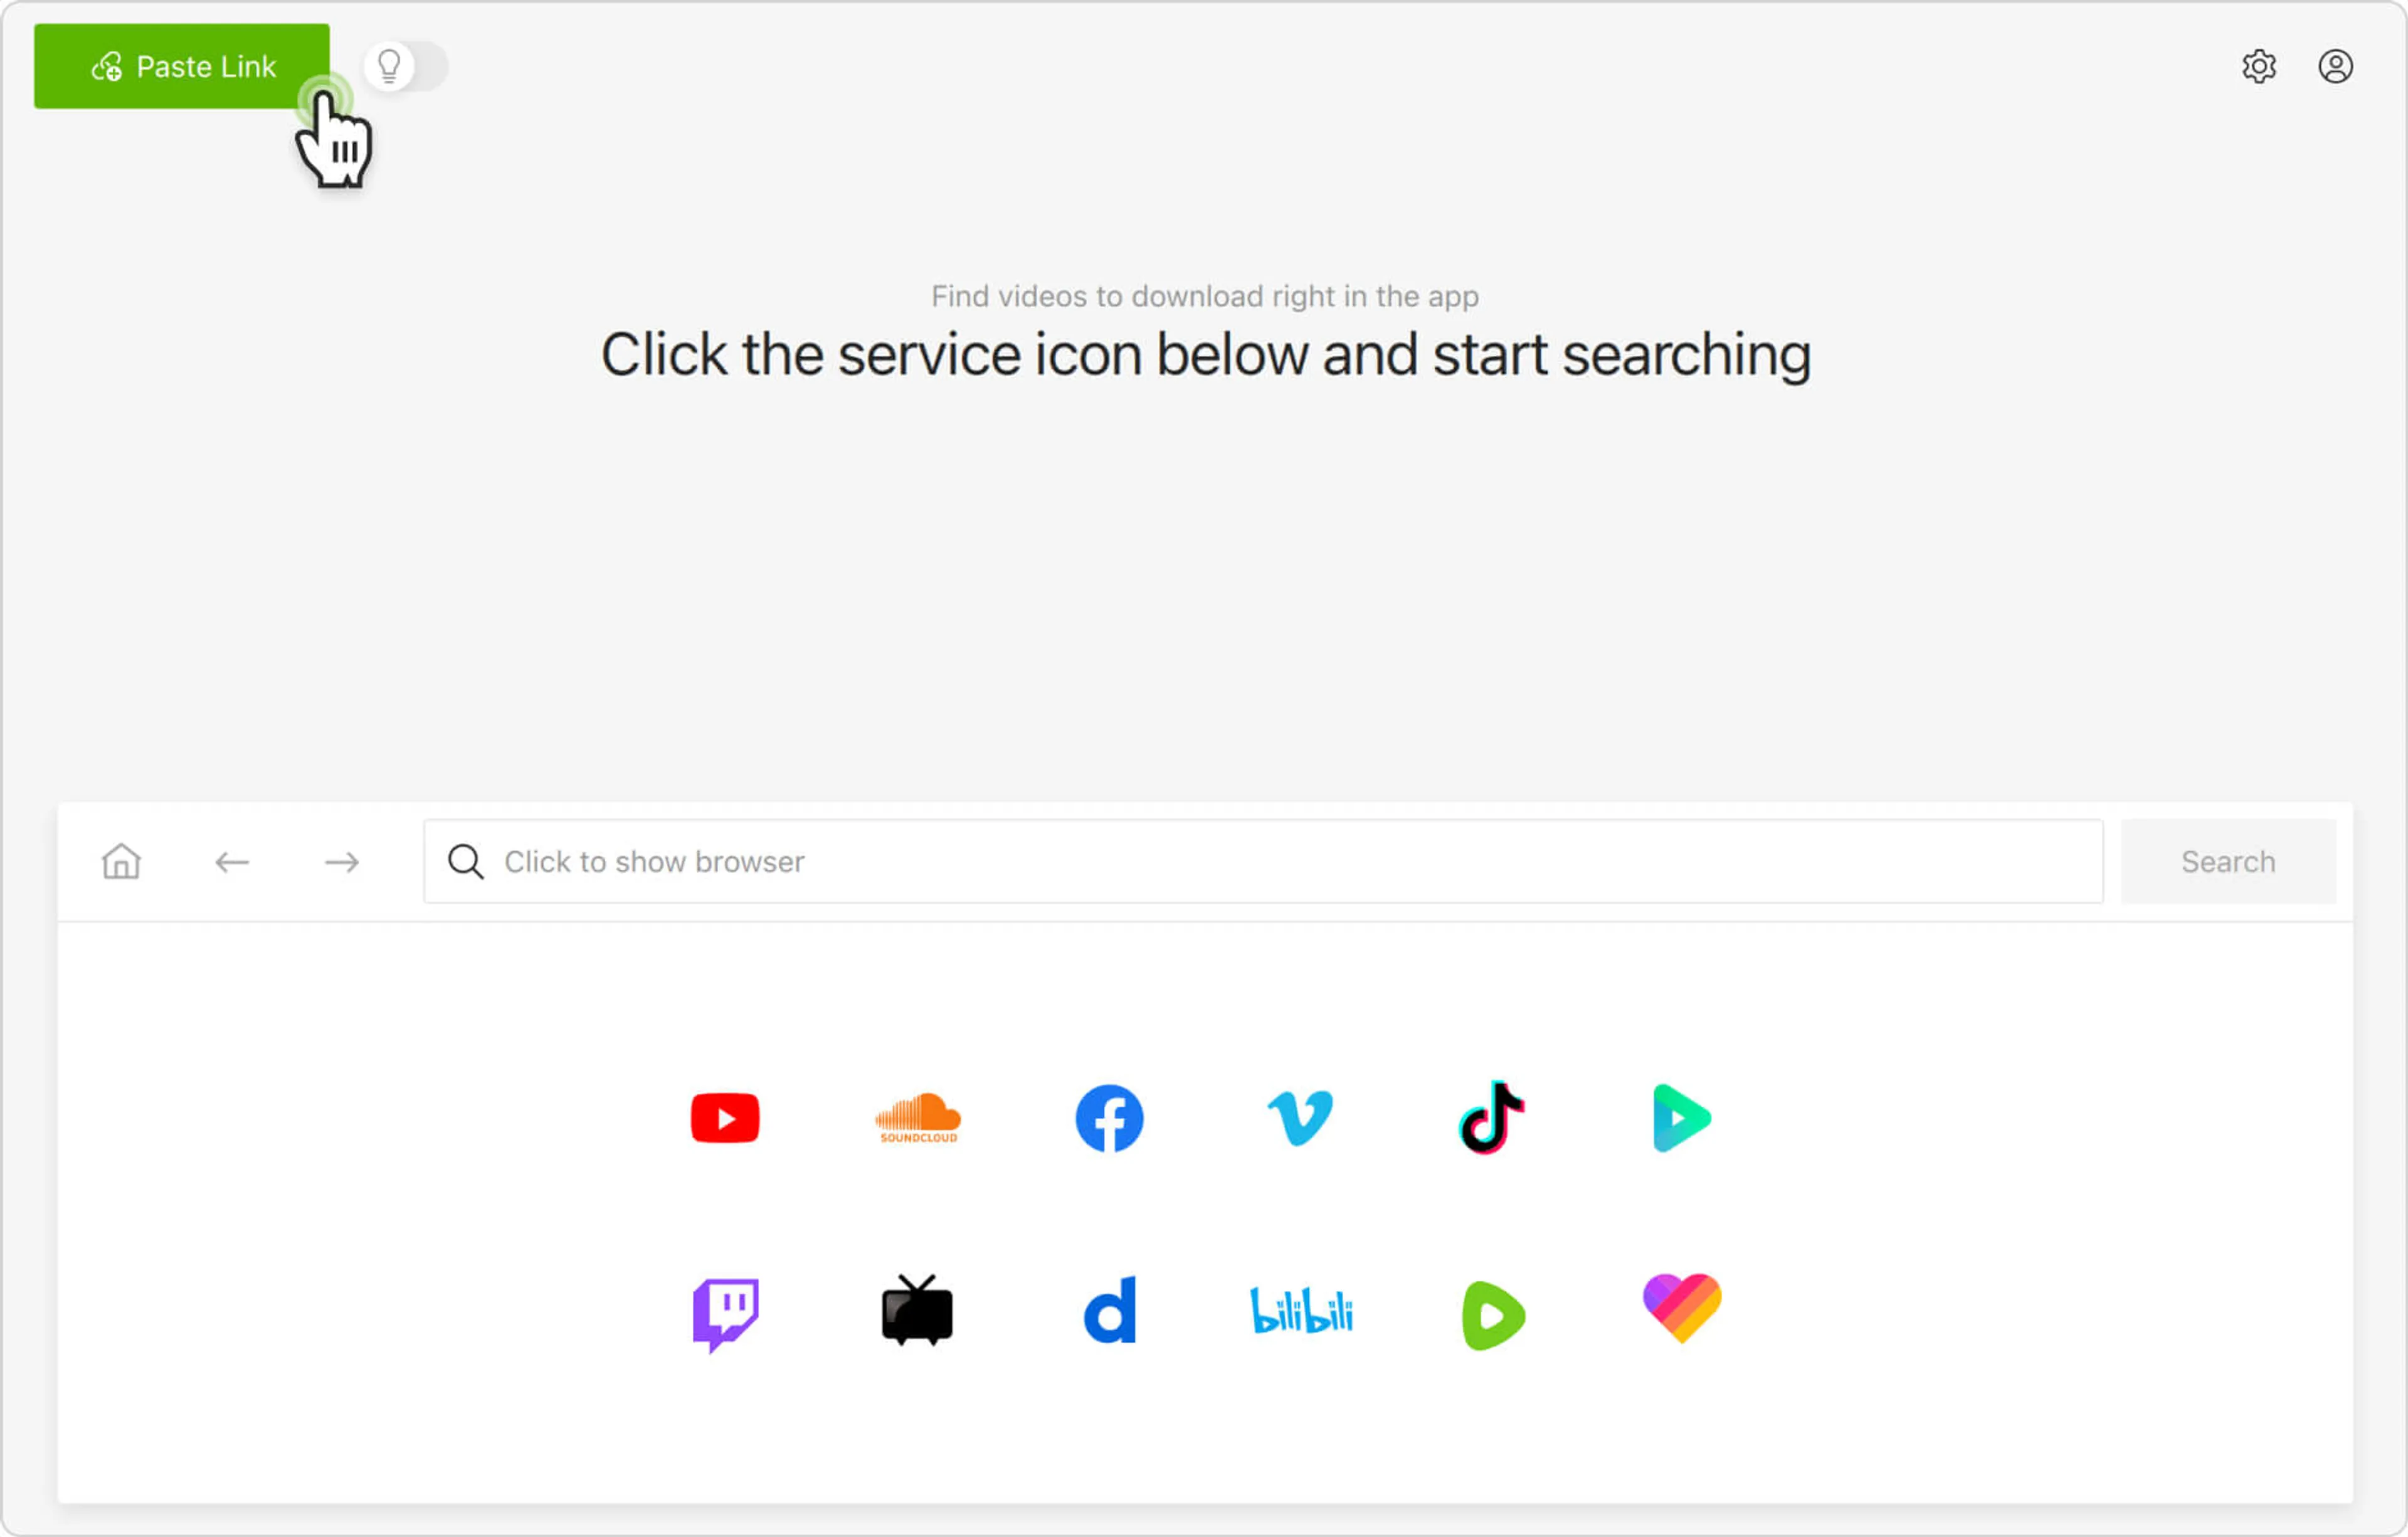
1. Launch 4K Video Downloader Plus. It's available for macOS, Windows, Linux and Android.
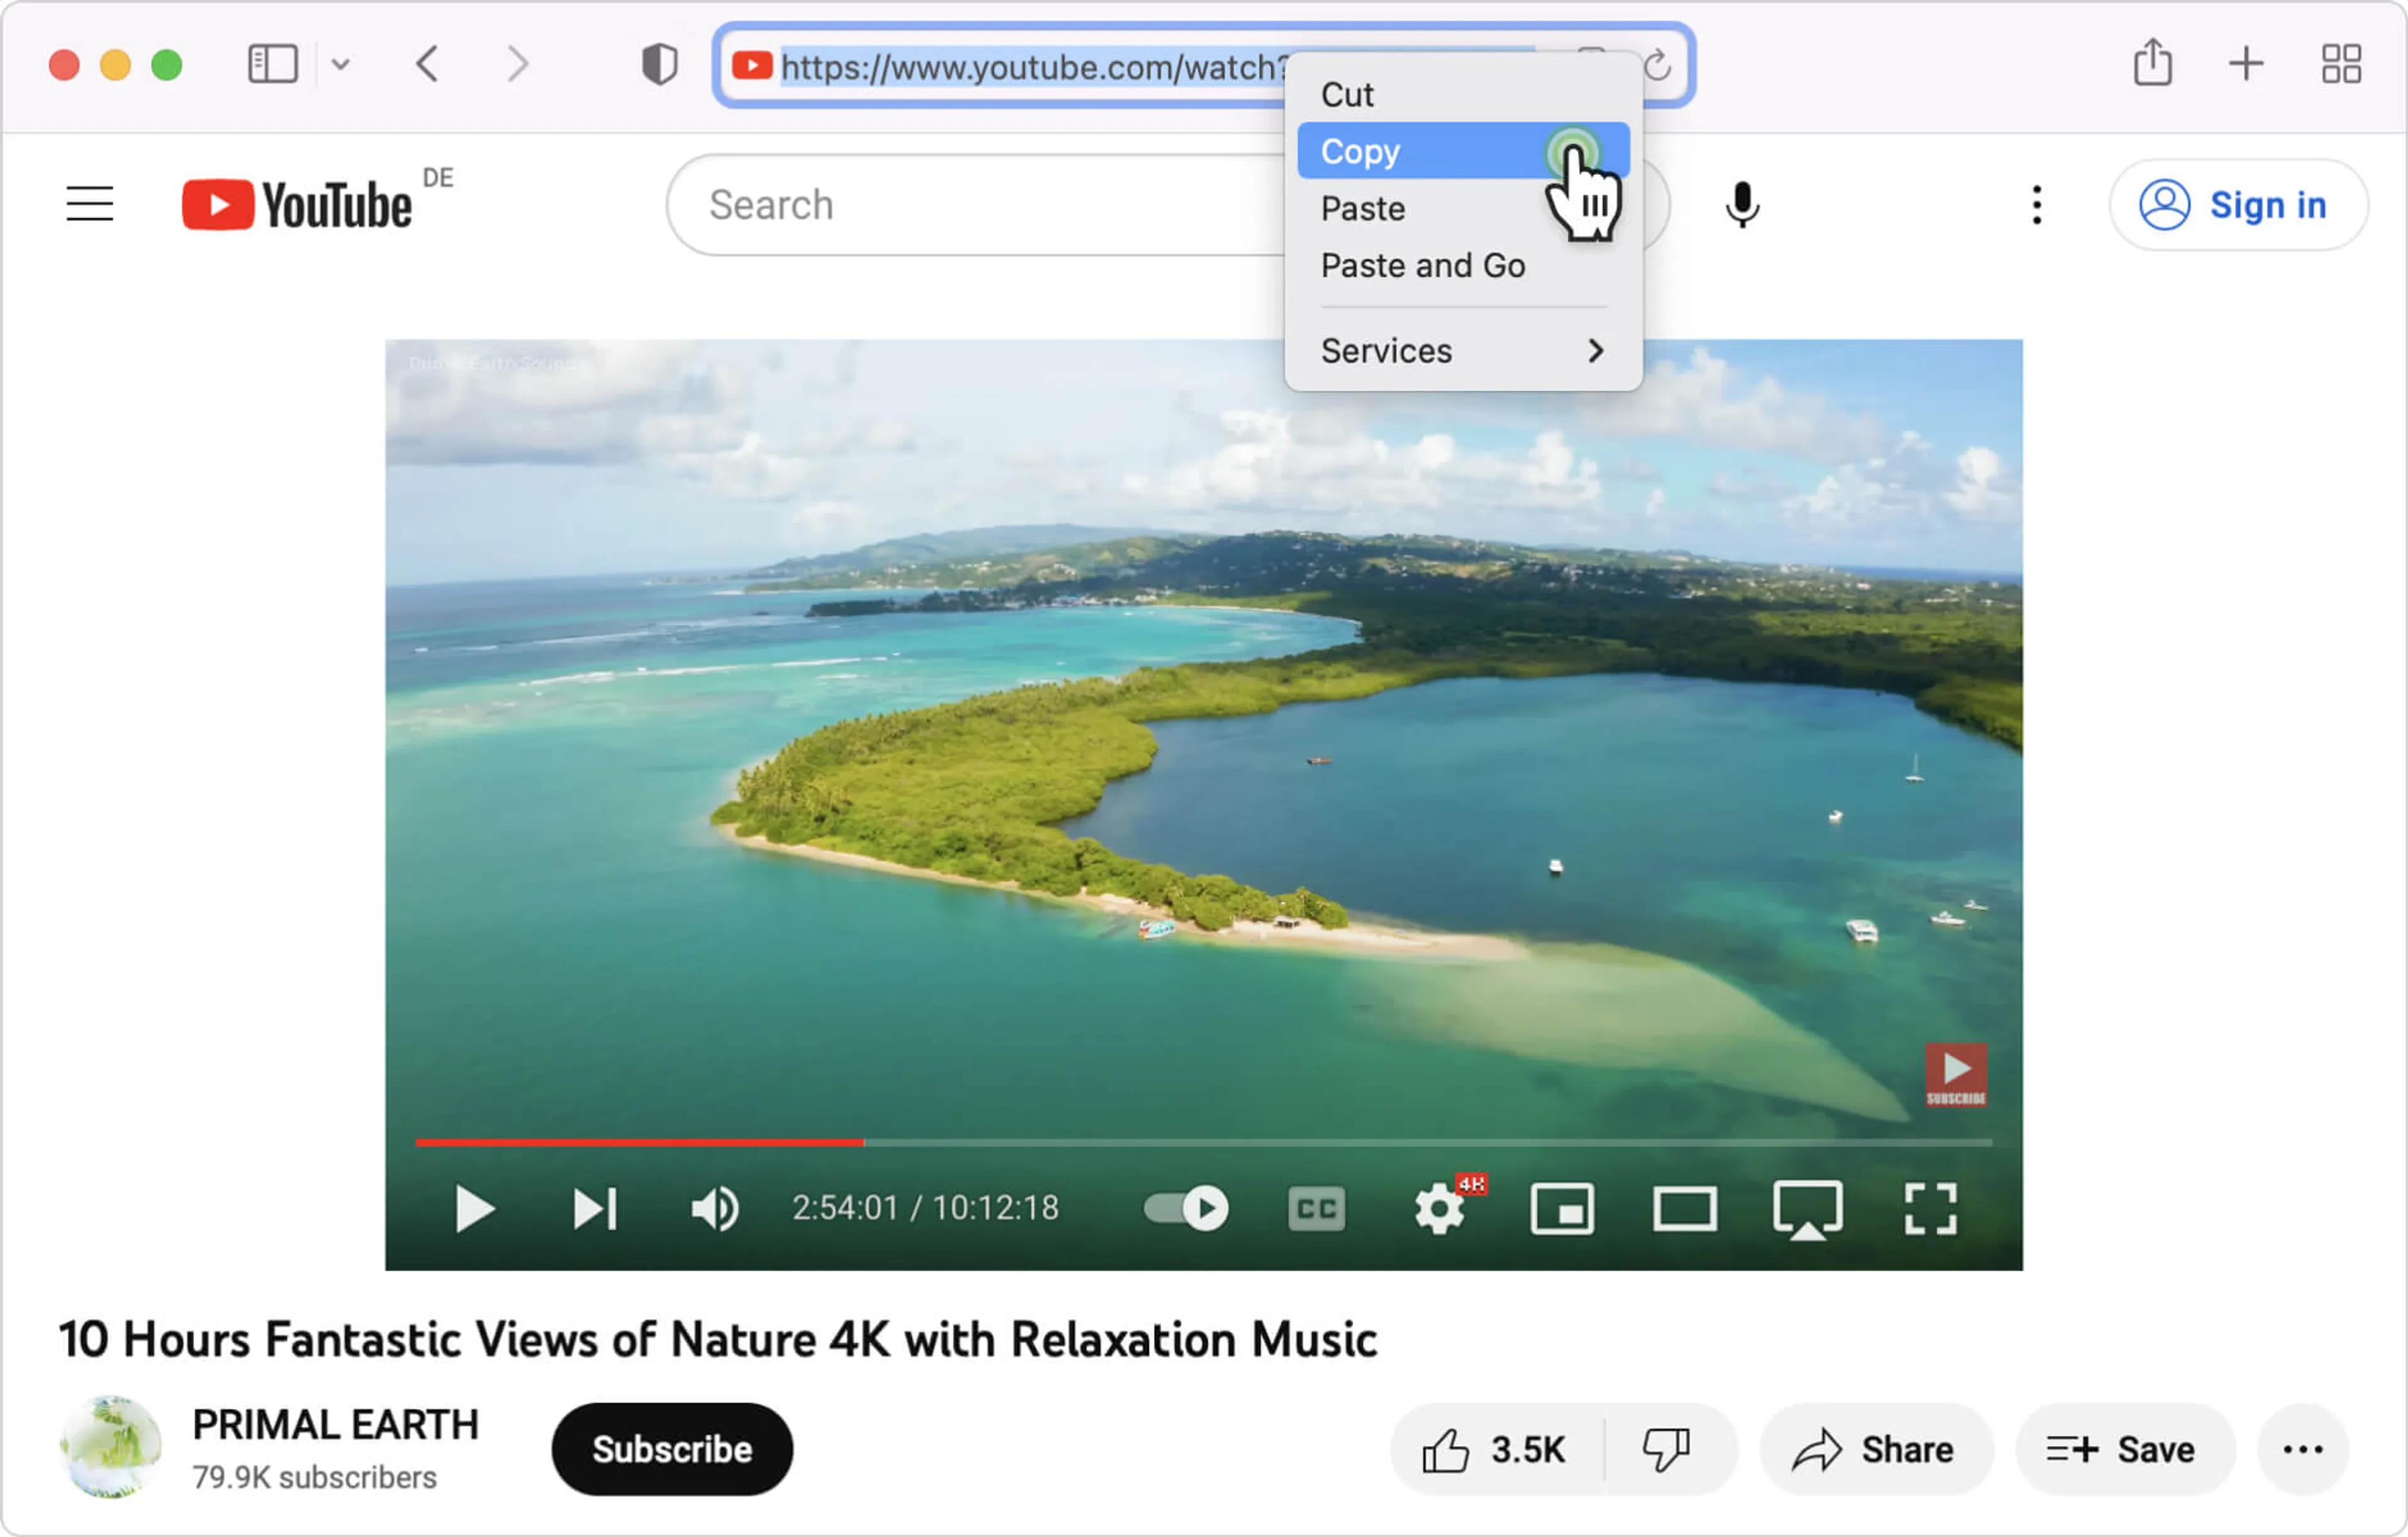
2. Copy the link to the YouTube video you want to download.
3. Click the Paste Link button in the downloader.
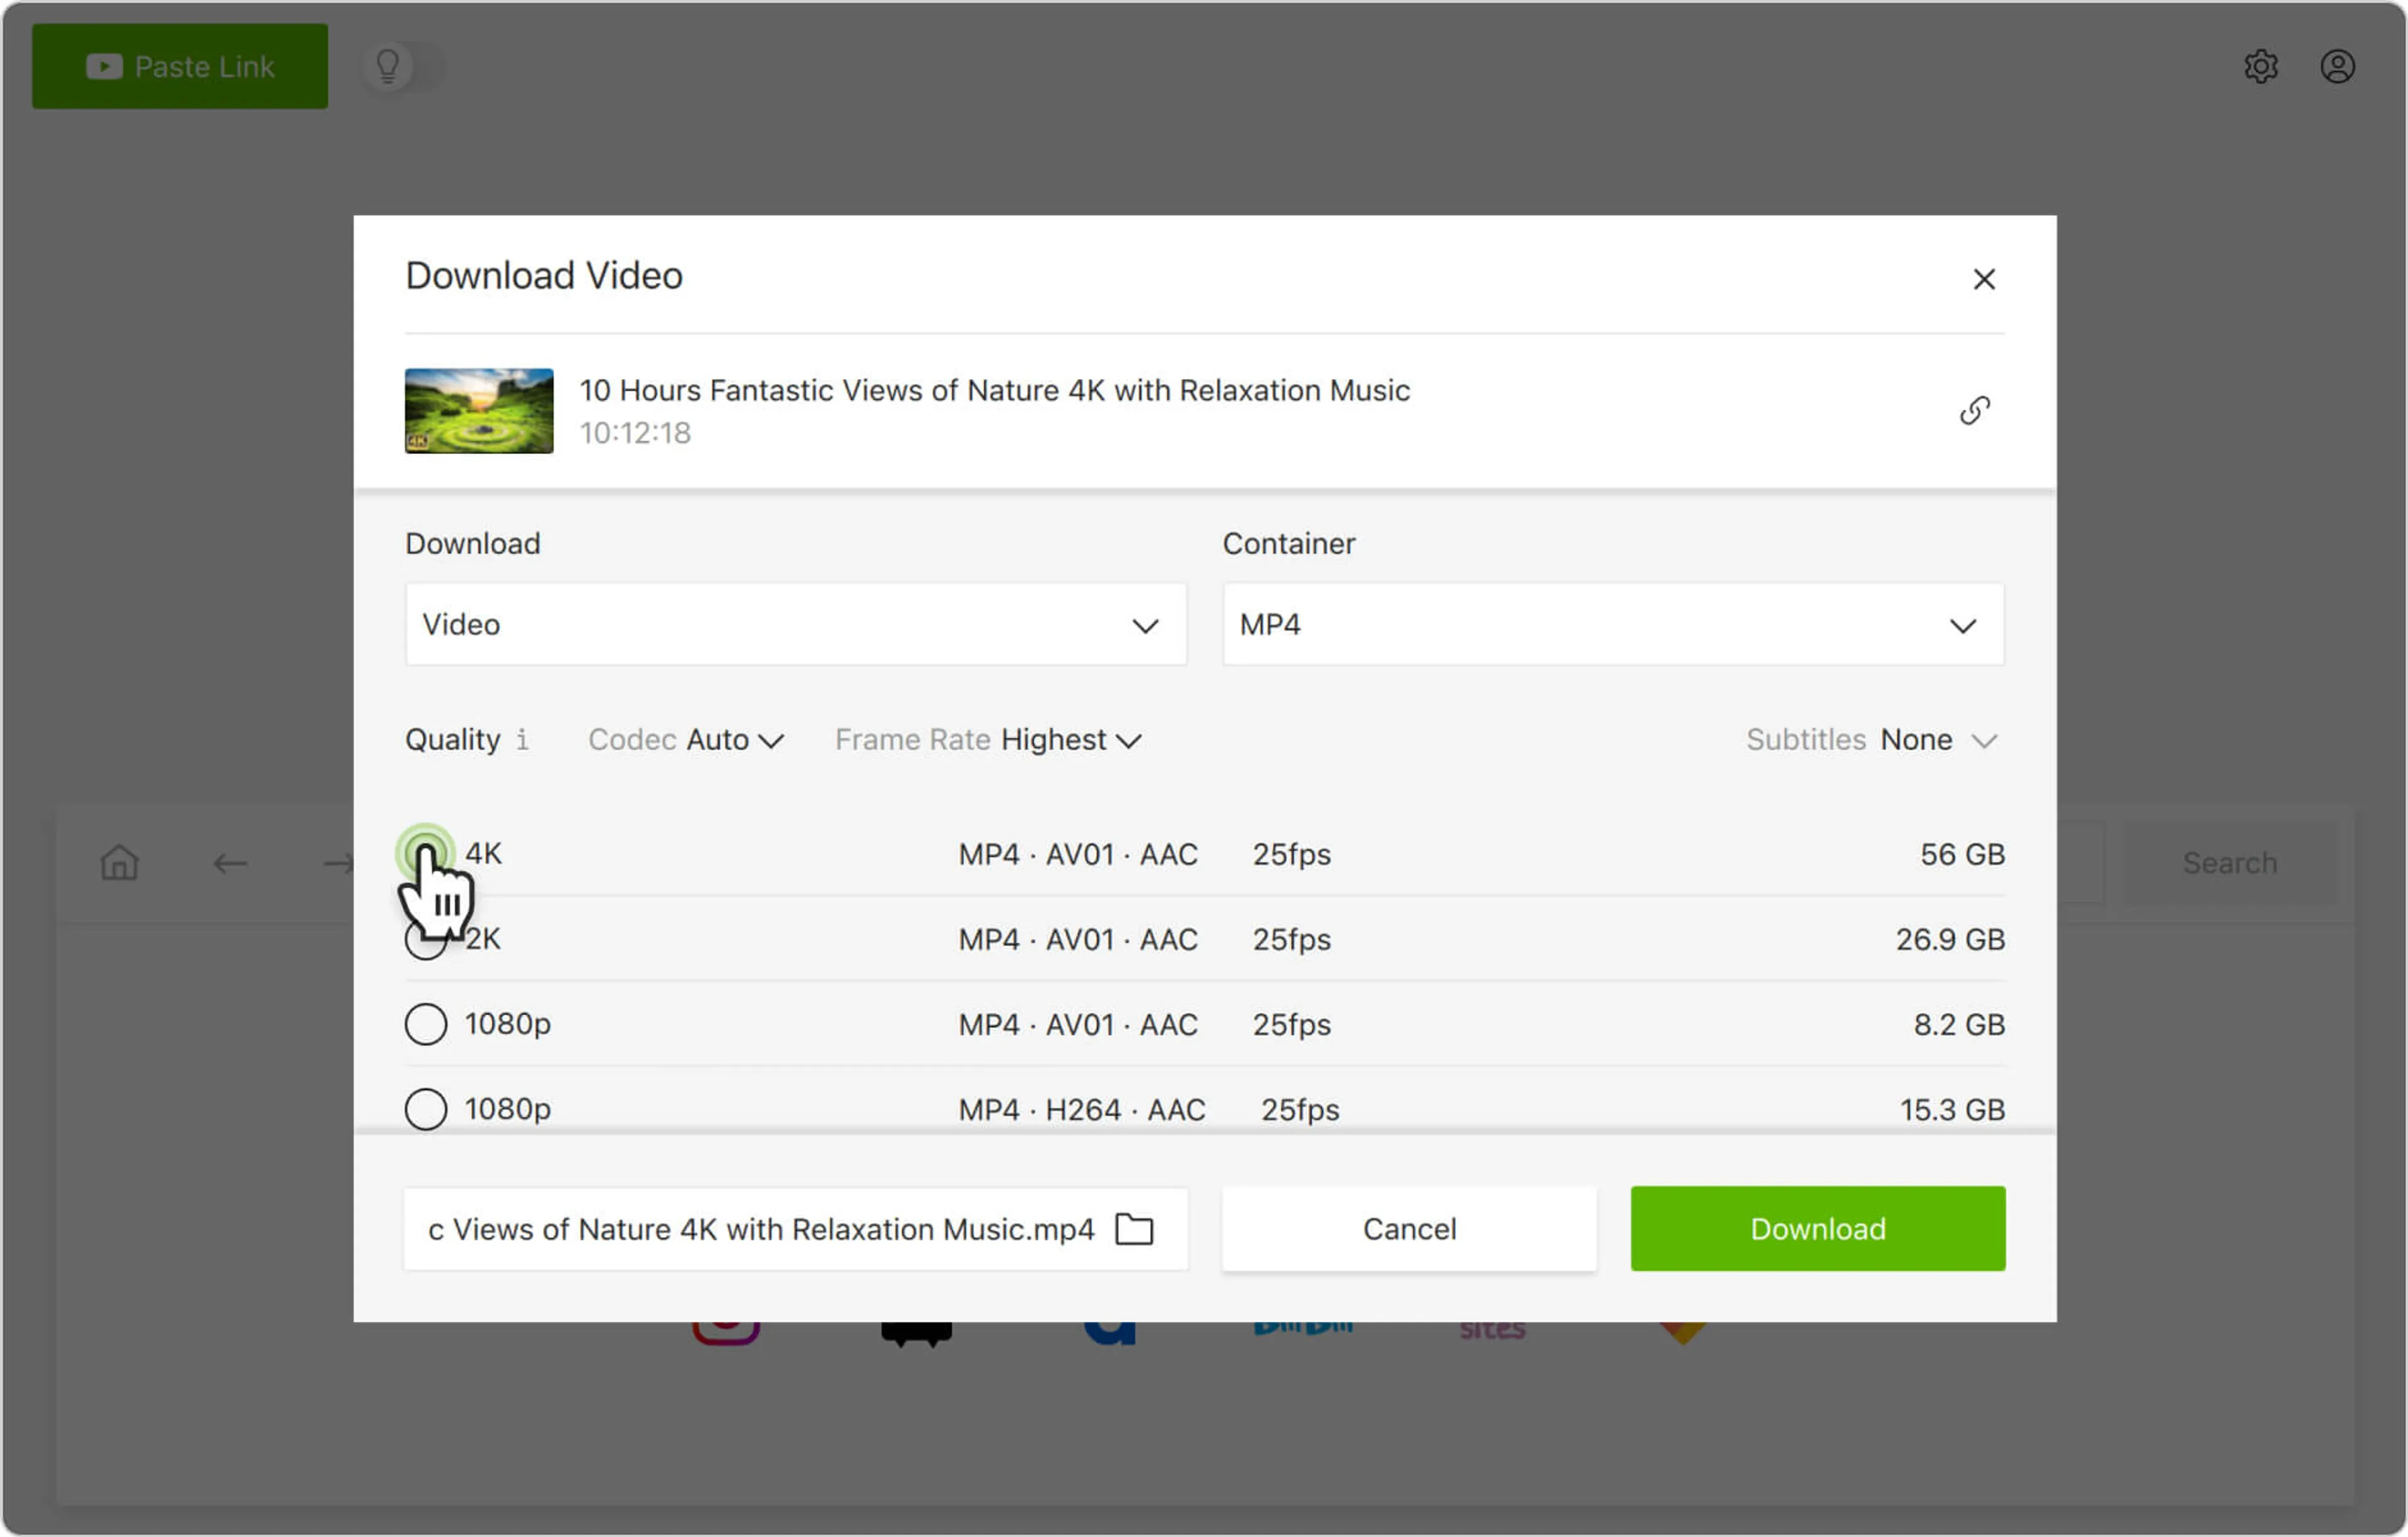
4. Select the format, quality, and output folder.
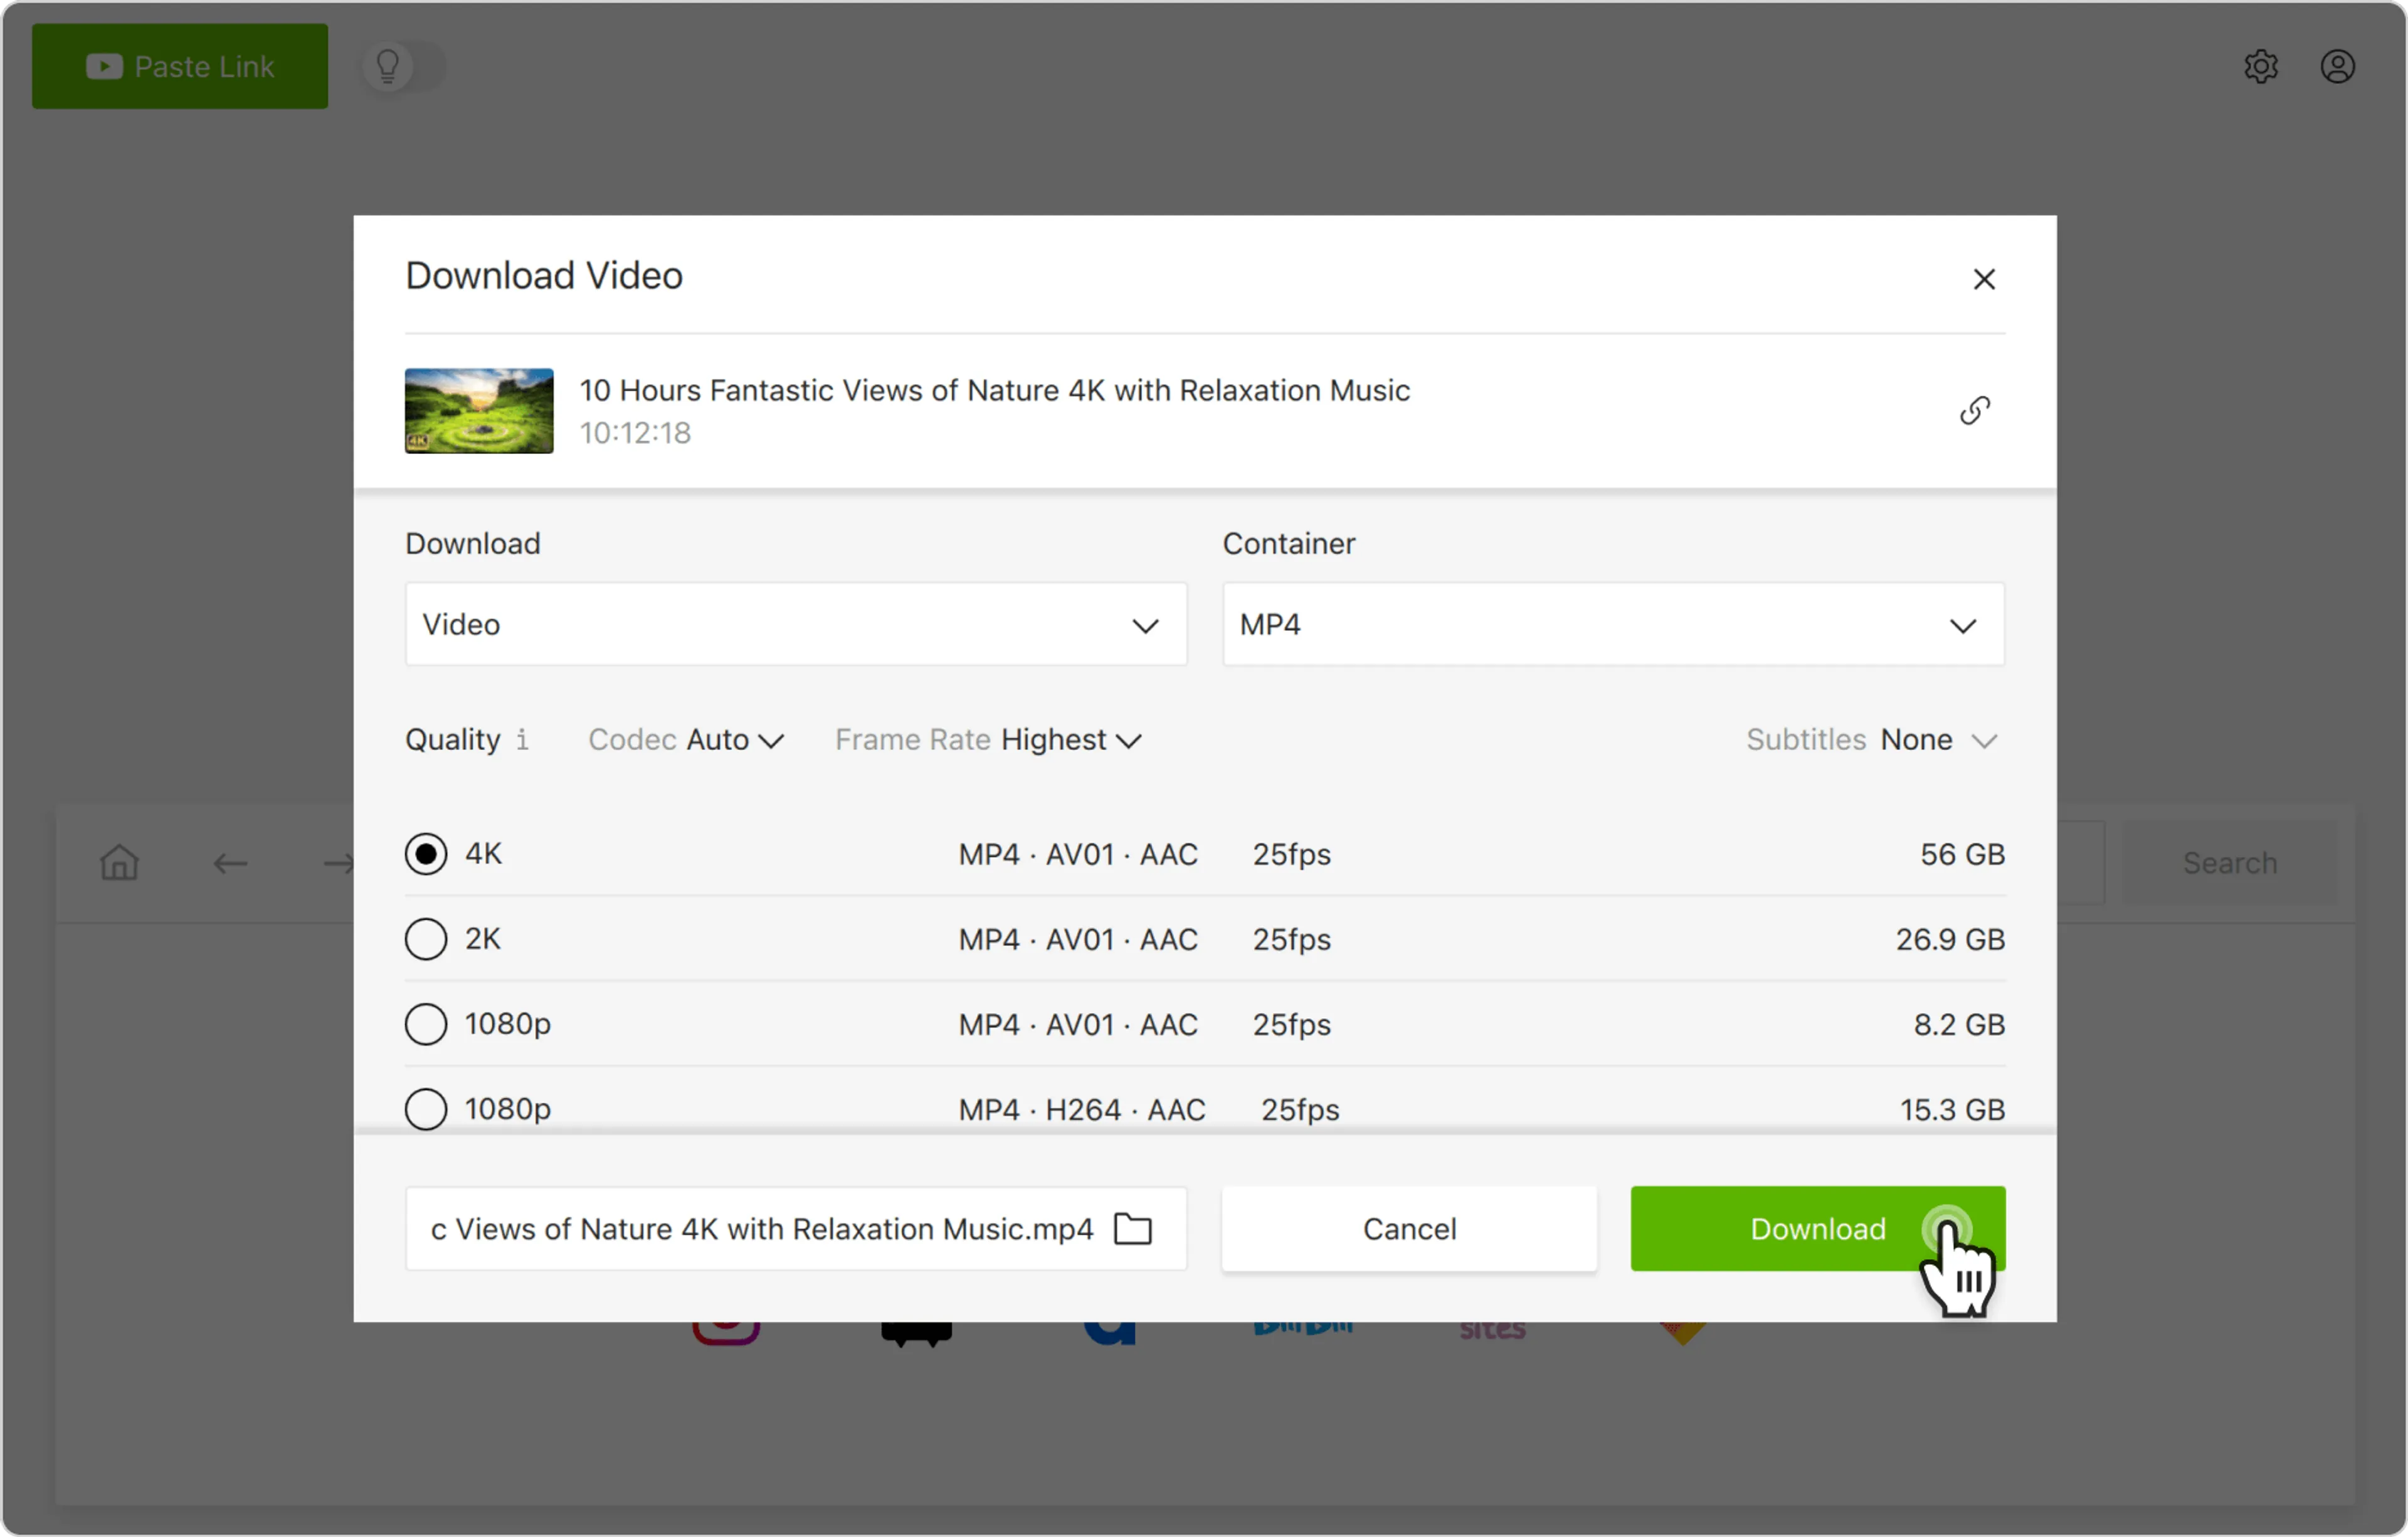
5. Click Download.
Playback and Extract with VLC
1. Launch VLC Media Player.
2. Go to Preferences (Ctrl + P) and click Show All Settings at the bottom left.
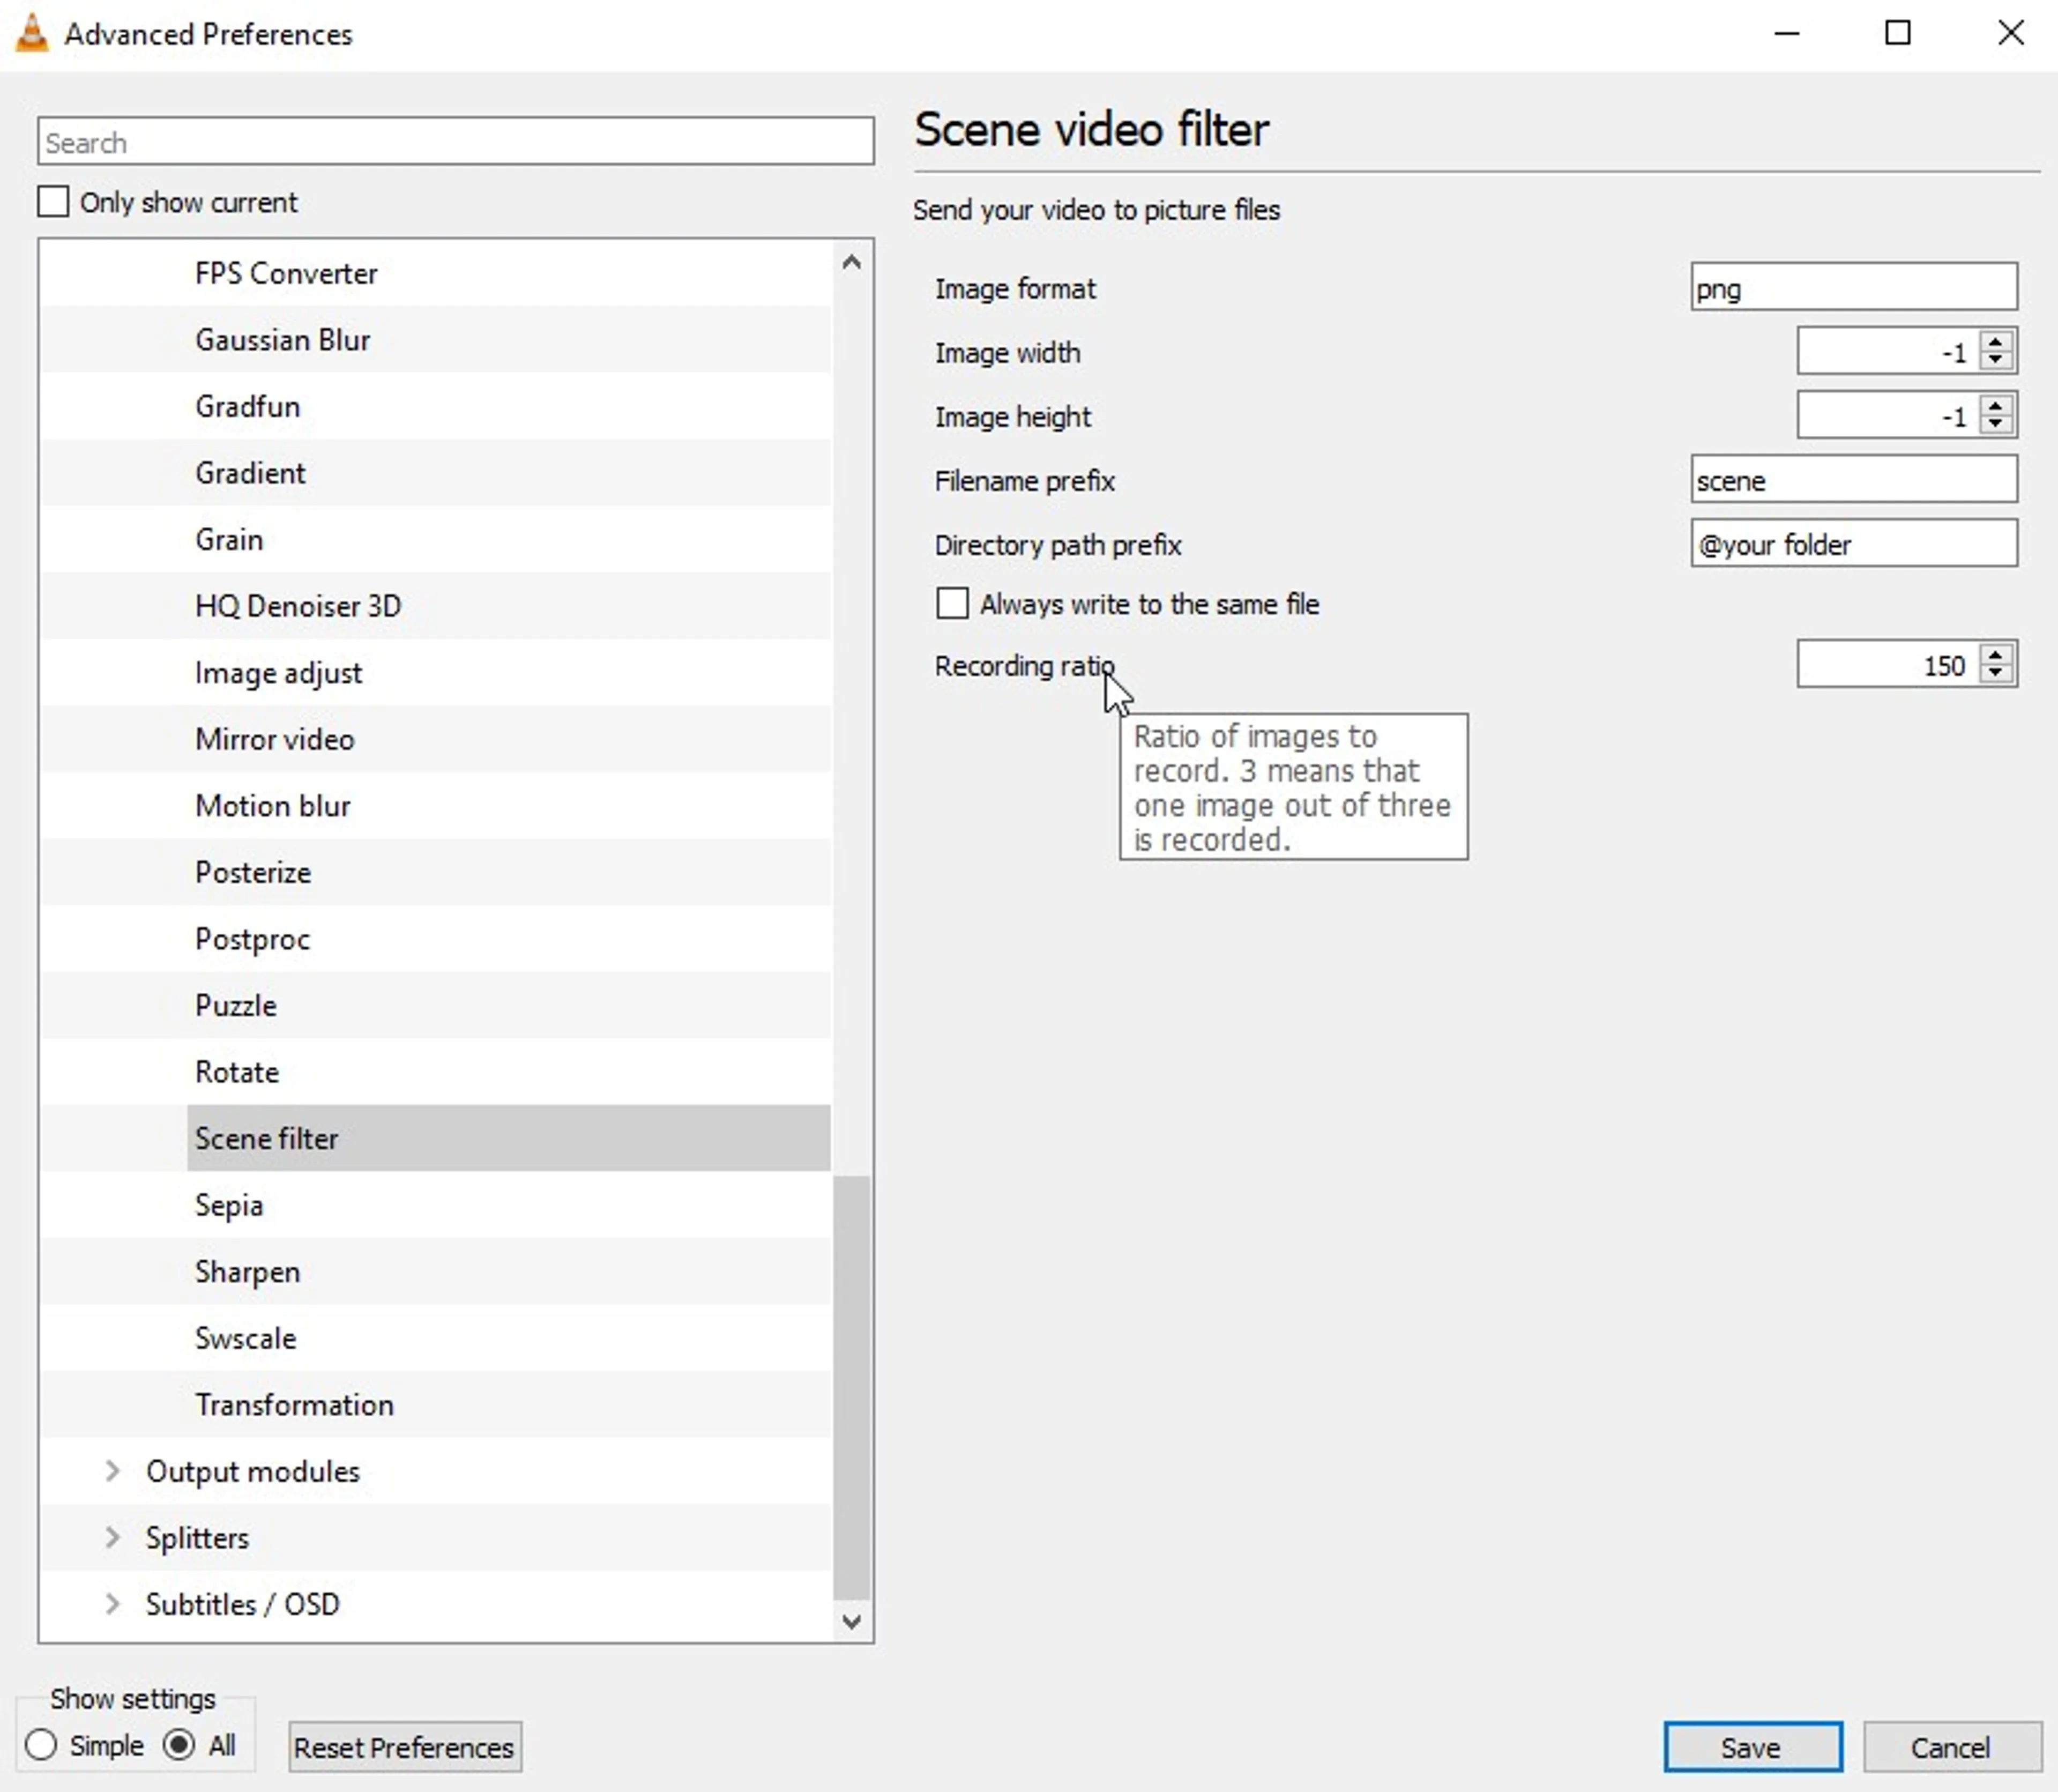
Expand Video > Filters in the tree and click on Scene Filter.
Set the preferred image format, choose the path to save the files (or leave it blank to save to your Pictures folder) and also the recording ratio.
The ratio will save an image every chosen number of frames (for example, if a video is 30 frames per second, a value of 150 will save an image every 5 seconds).
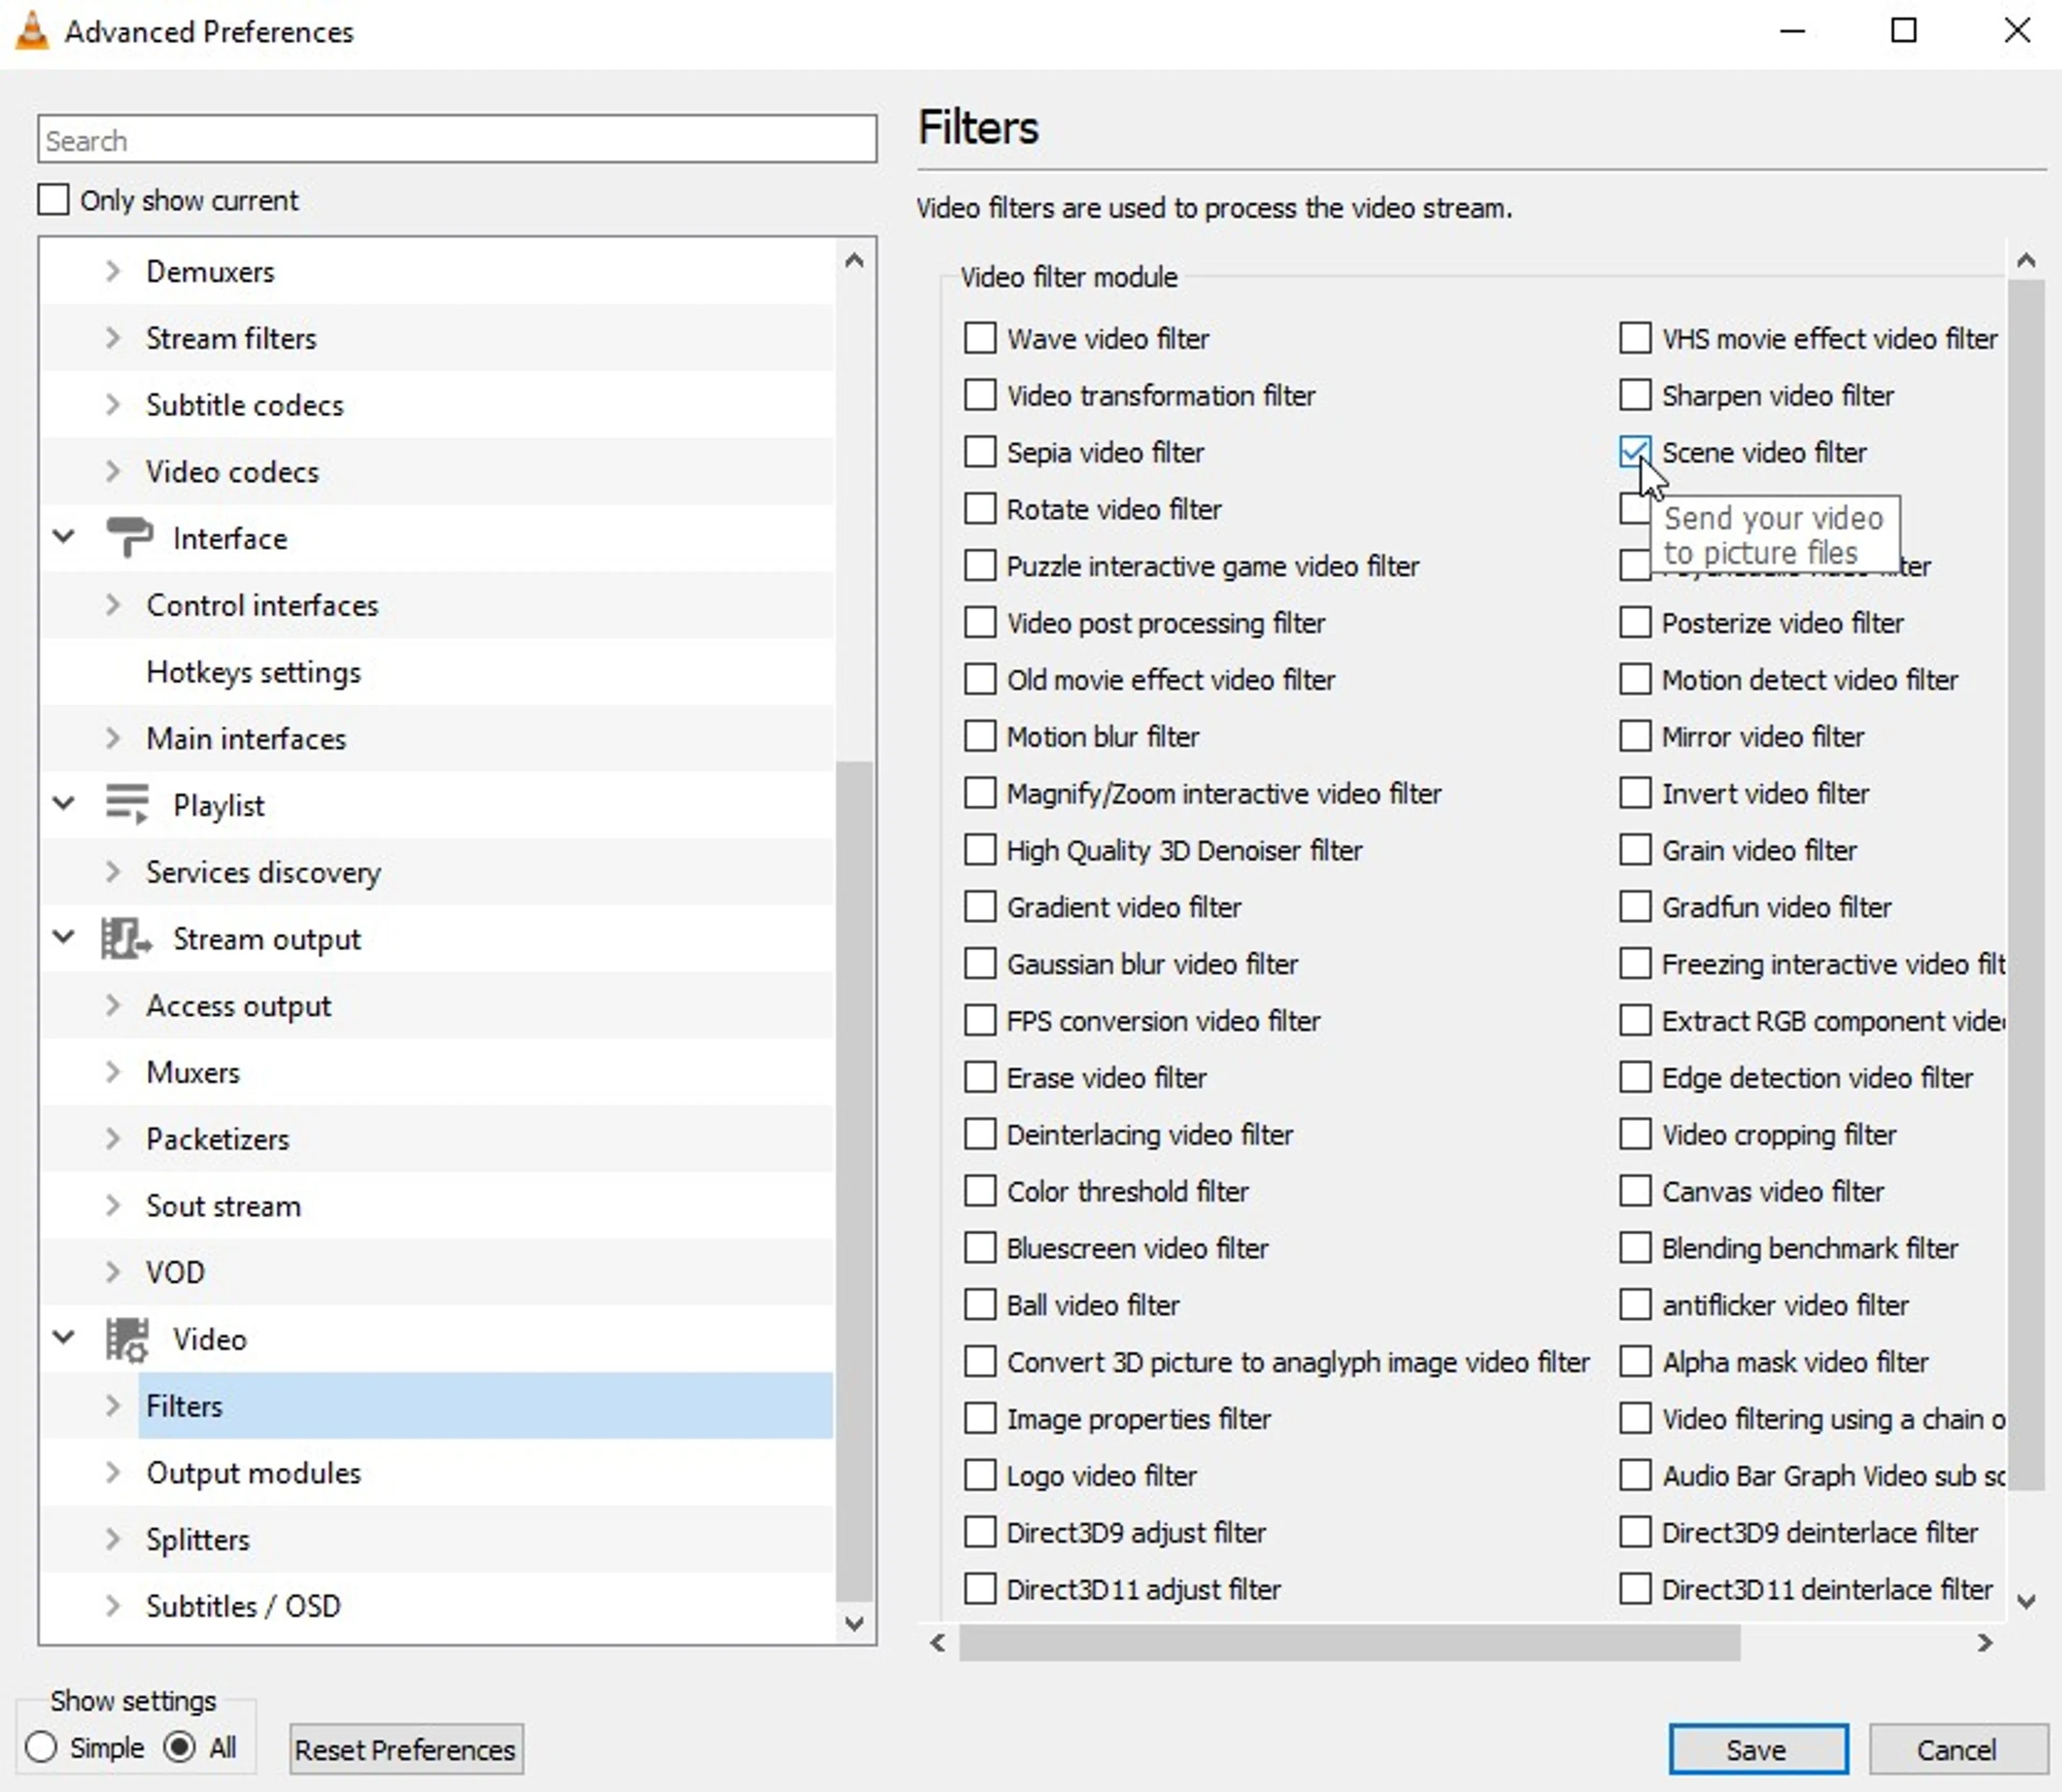
3. Click Filters within the Advanced Preferences tree and click the Scene filter box near the top right, then press Save.
4. Open VLC again and just play the video to automatically start saving images. Click Stop once you’re done capturing the needed part, otherwise, the player will continue saving, even after pausing or skipping through the video.
Don’t forget to turn off the Scene Filter option after extracting the frames, or VLC will save video images for each further played file.